Showing posts with label peanut butter. Show all posts

Wednesday, July 31, 2013

Peanut Butter Tofu

Hello everyone! I hope you are all having a good week.  I have really been enjoying cooking more now that I live in my own place. I can finally spread my cooking wings and make my way through the many recipes that I have been wanting to try.

I absolutely love tofu. As a vegetarian, I feel it is crucial for my diet.  I hate just eating veggies, because they don't fill me up, and while pasta and cheese are filling, they aren't good for you to eat all the time.  Tofu is filling, healthy, and full of protein. It is honestly the perfect food.
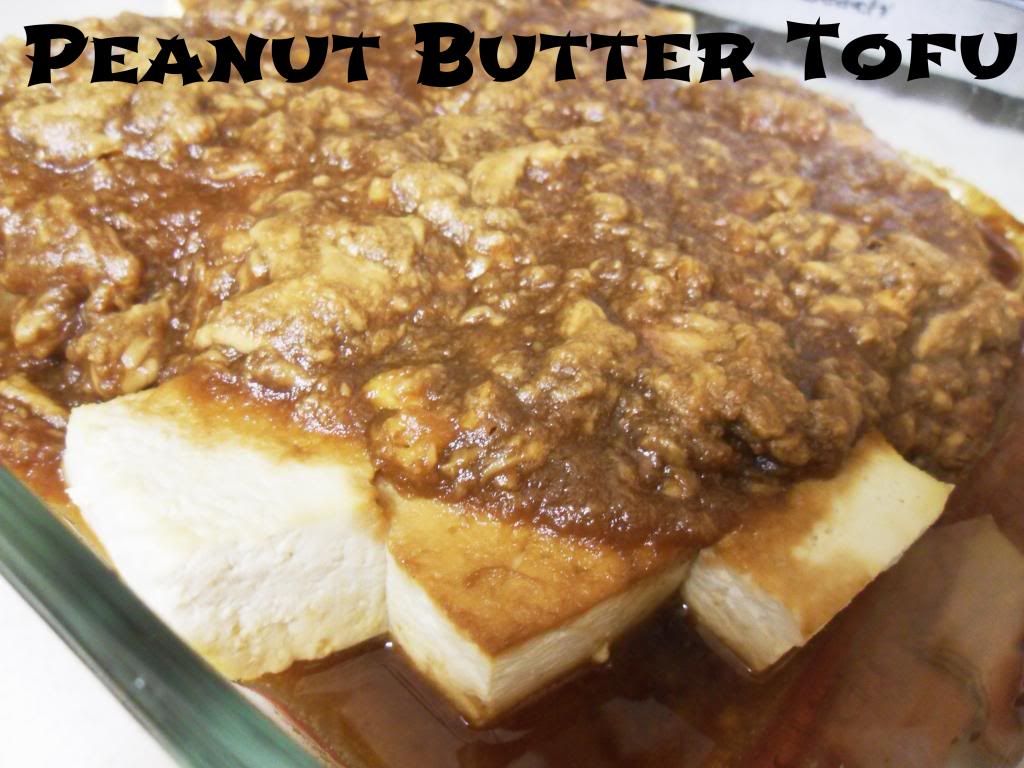
 photo 007_zpscbb14f97.jpg

If anyone were to ask what I would want my last meal to be, I would say tofu in peanut sauce. I love peanuts, and mixed with tofu is just a winning meal. I have eating peanut tofu many times in restaurants, but I finally took the plunge and tried to make it myself.

Recipe adapted from Grace (full) Plate.

What you need:
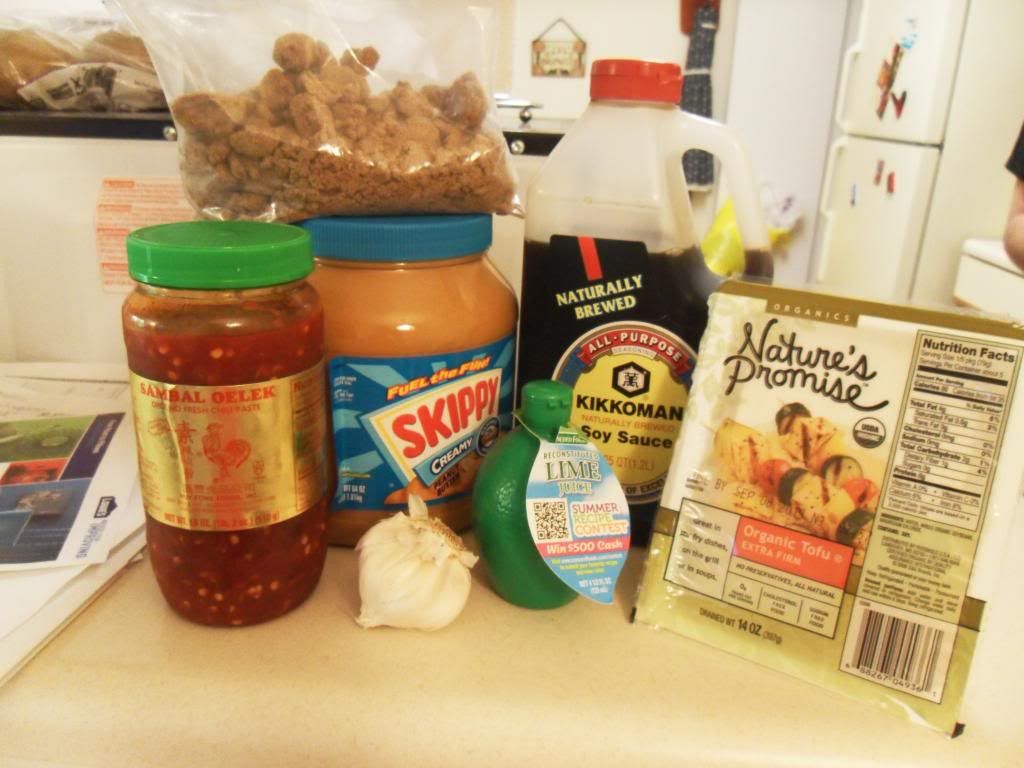
 photo 002_zps882f2541.jpg

1 Package of tofu
About 1 cup of creamy peanut butter
1/4 cup of brown sugar
4 cloves of garlic, minced
3 tsp of lime juice
1/2 tsp chili sauce
1/2 cup of soy sauce
1/4 cup of water

What to do:

First you need to press your tofu.  Drain out all of the liquid from the package and remove the block of tofu. Wrap it up in a few layers of paper towels, and place it on a plate. Put another plate on top, with something heavy, like a book, on top of that plate, and let it sit for about 30 minutes. This will drain the moisture from the tofu, so it's more firm and it wont fall apart as easily.

Preheat the oven to 350 degrees, then combine the ingredients for the sauce: Peanut butter, brown sugar, garlic, lime juice, chili sauce, soy sauce, and water. Mix everything together in a medium bowl.

Cut up your tofu into pieces. I decided to make mine into cubes, but you can pick any shape, as long as they are pretty small. Put the tofu in your baking dish, and pour the peanut butter sauce on top.
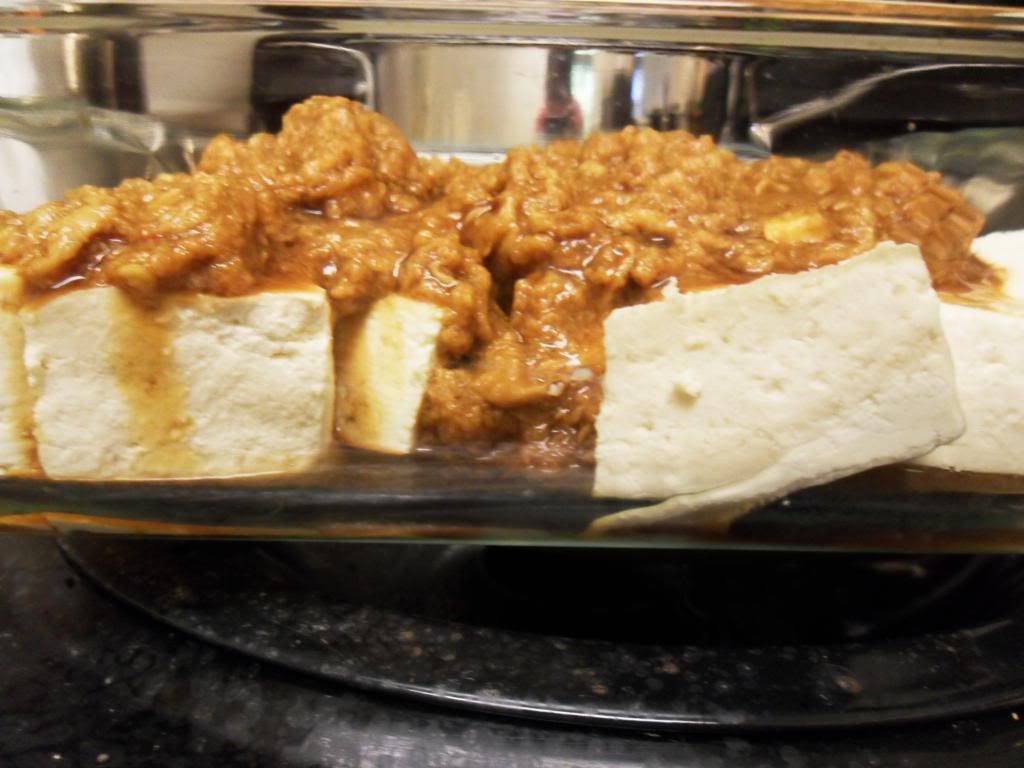
 photo 004_zps3e4deb00.jpg

Bake for 30 minutes, and you're done!

I love how simple this was to make, just mix everything together and throw it in the oven!  I served mine with broccoli and fried rice.
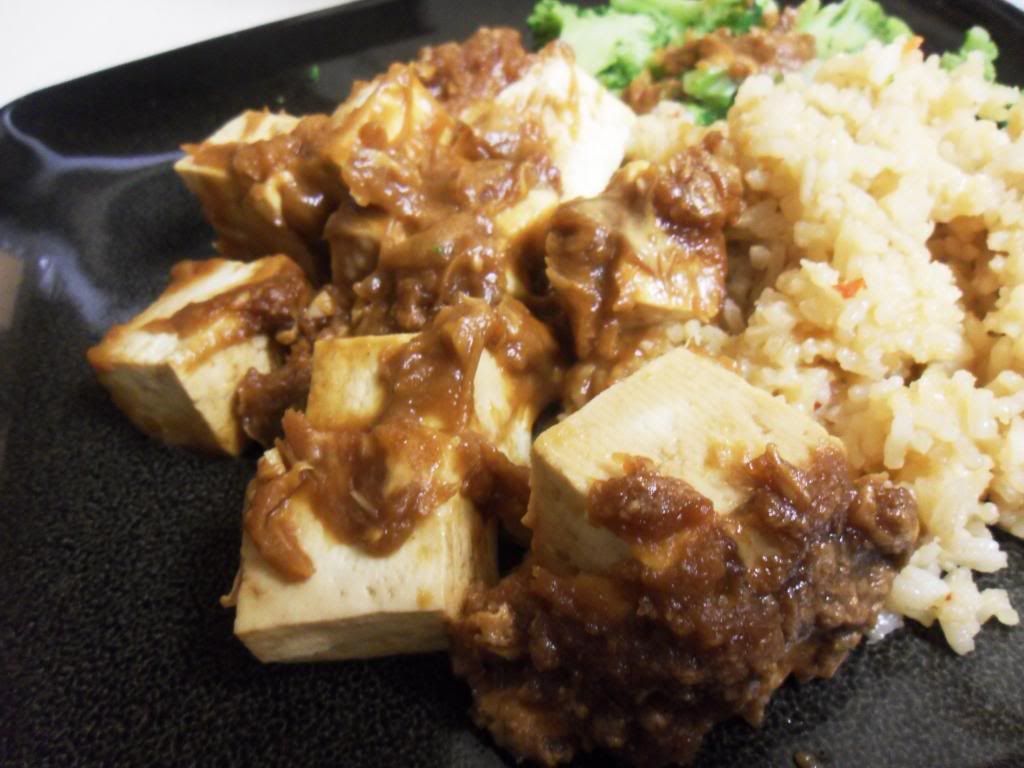
 photo 010_zps460c7e64.jpg

Overall, I really liked the flavor of this peanut butter sauce. The mix of the soy sauce with the peanut butter gave it a nice Thai flavor.  However, there was a bit too much peanut butter. It felt more like I was spreading peanut butter on my tofu, instead of a peanut butter sauce.
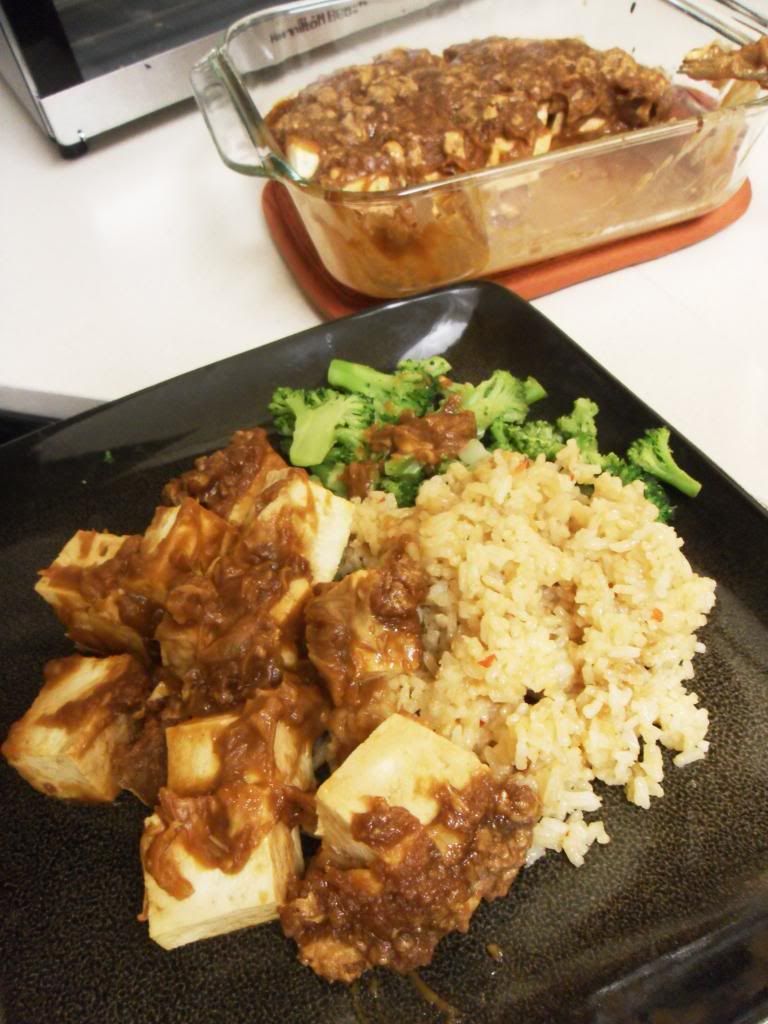
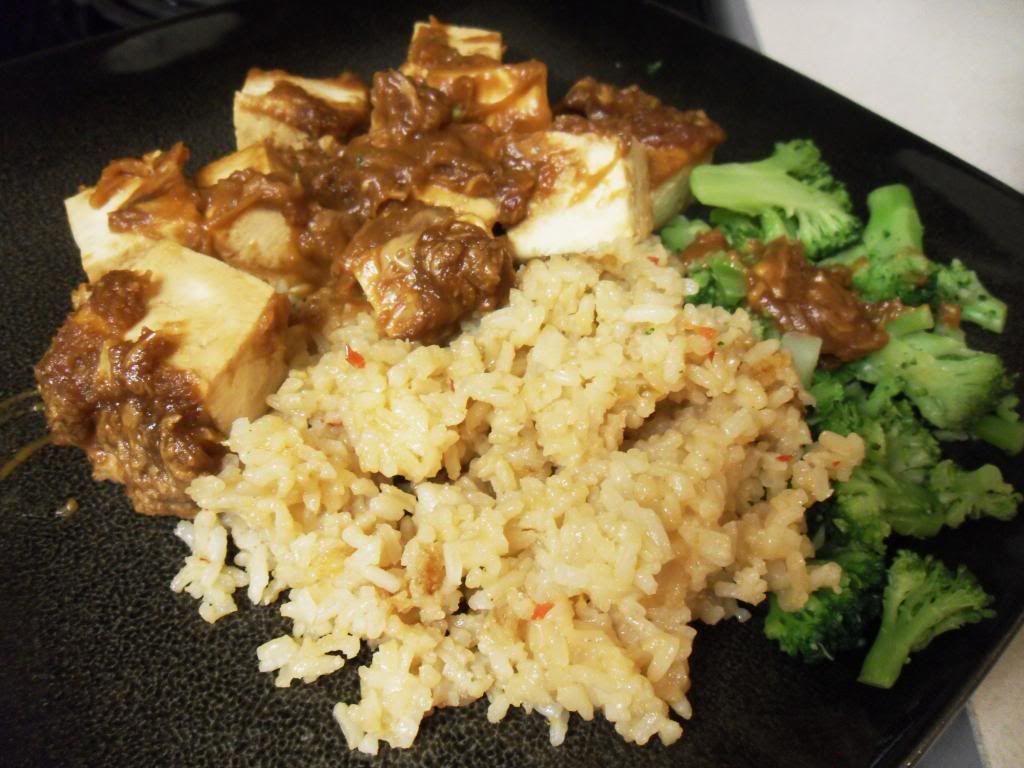
 photo 011_zps2212752c.jpg

 photo 012_zps79b01ddb.jpg

Since tofu is so bland and it soaks up the flavor of what you cook it with, the peanut butter was a little overpowering, but it was perfect with the broccoli. I ended up mixing the tofu and the broccoli and it was amazing. Next time I will add more broccoli, and maybe a bit more chili sauce too, I like my food on the spicier side!

Will you be trying out this peanut butter tofu dish?

Bye from the Veggie Side!

Wednesday, June 26, 2013

Peanut Ramen Noodles: Part 1

Hello everyone and welcome to the last post being broadcast from my home in New York!  On Friday, I will begin my journey to move with my boyfriend to Virginia!  I am so excited that finally after 4 years of long distance dating that we will finally be close. However, I am not too thrilled about leaving my home state of New York. No matter what I will always be a New Yorker!

Today I want to show you a quasi recipe that I put together from inspiration I got from good ole' Pinterest.  I have loved Ramen noodles since I was about 8 years old. My dad would cook them for me all the time by microwaving the noodles in the water, then mixing in the spice packet.  When I gave up meat at 11 years old, I stopped eating the chicken flavor (and all the other meat flavors) since they have the stock of the animal in the spice packet. Luckily there is ONE flavor of ONE brand that is vegetarian: Top Ramen Oriental flavor.  I gobbled up these quick noodles until I went off the college.  While all of my classmates ate more Ramen while at school, the local super market didn't carry the Oriental flavor, so I stopped eating them.  Once I came back home I rediscovered my love for the noodle soup and it was all Ramen all the time once again.

Then while browsing Pinterest, I saw some "recipes" that people had created using Ramen. With my love newly restored, I was so excited to try some of them out.  I wanted to start simple my first time. I mixed together a few ingredients, and Peanut Ramen Noodles Part 1 were created!

What you need:

 photo 006_zps25354e10.jpg

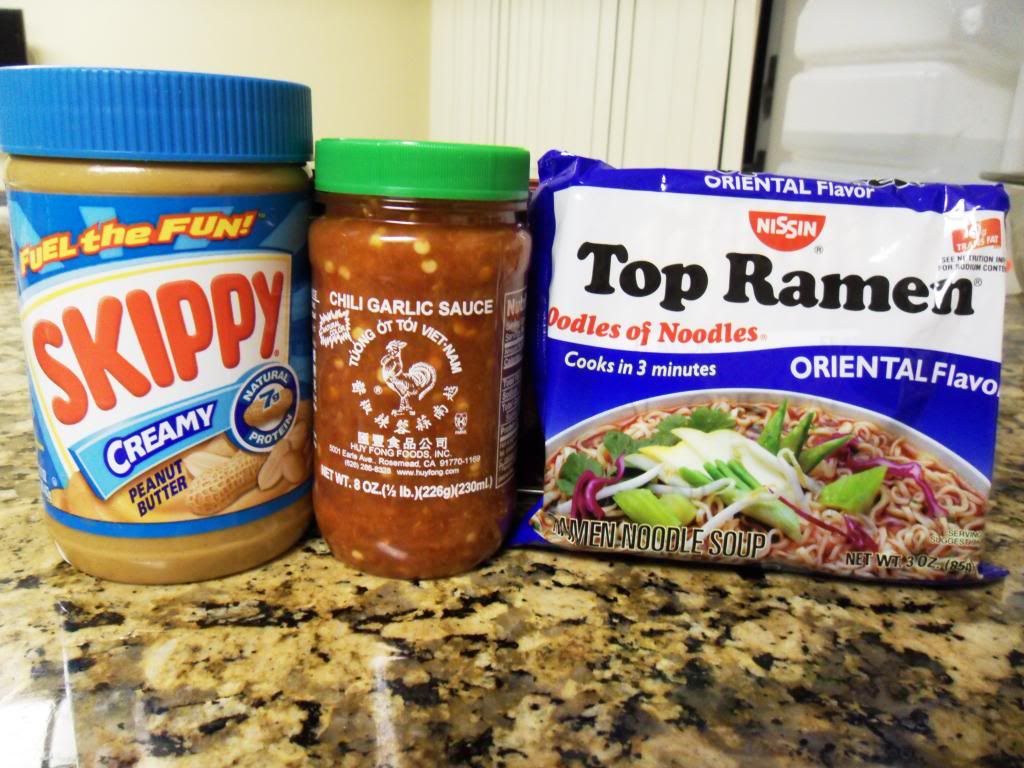
For these noodles I grabbed the jar of peanut butter that I had in my cabinet, asian chili garlic sauce, and of course Top Ramen noodles in Oriental flavor.

What to do:
Fill a bowl with water and add in the dry noodles. Microwave for 3 minutes making sure to stir up the noodles halfway through.
Once they are all cooked, carefully drain out the water making sure to leave a little bit of water in the bowl.
Mix in the Oriental flavor packet, a heaping tablespoon of peanut butter, and chili sauce to taste.
That's it! How easy is that?

 photo 008_zps52697dec.jpg

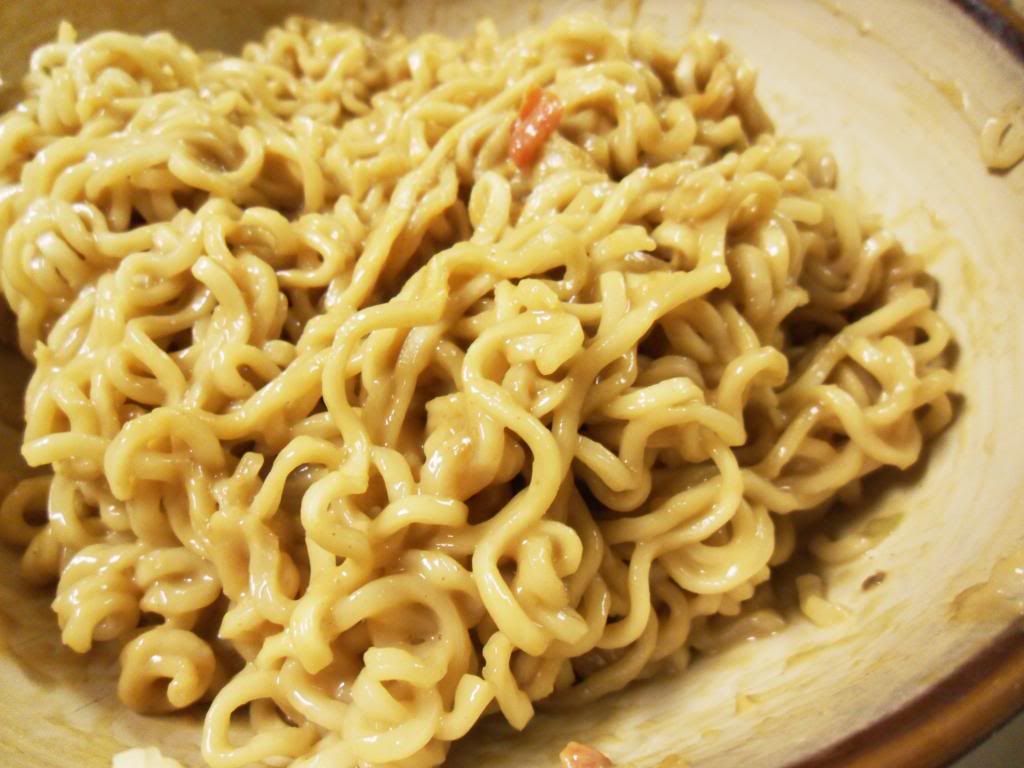
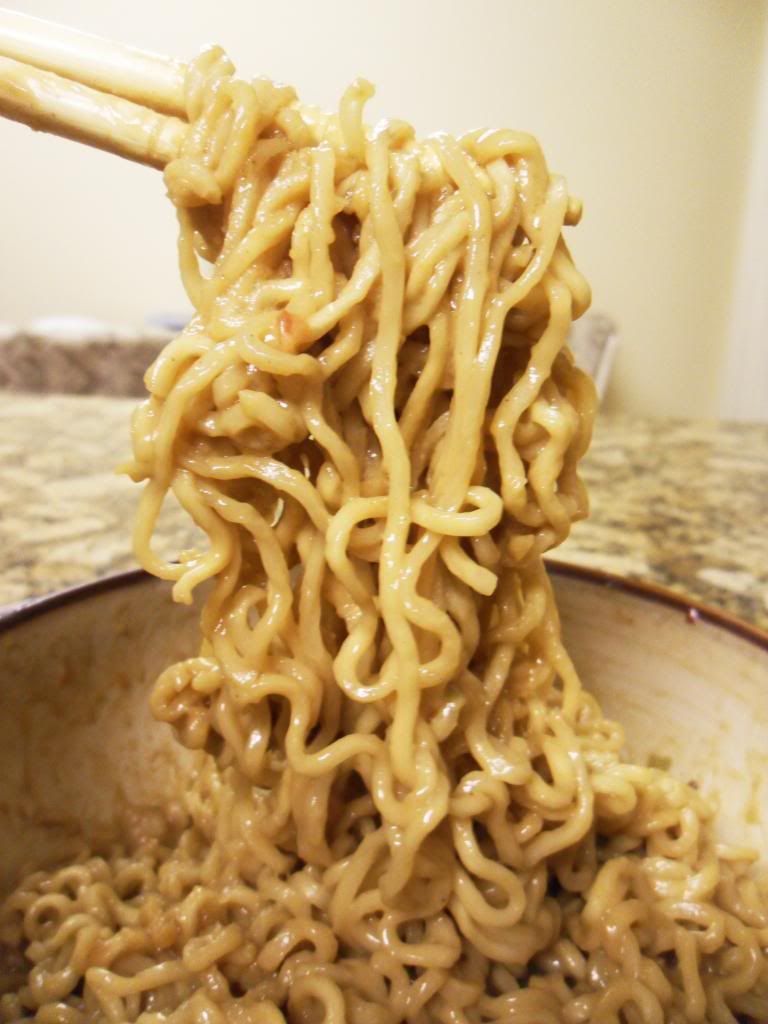
I am literally obsessed with these spicy noodles. The peanut butter makes them creamy, while the Ramen flavor packet is the perfect mix of Asian spices. Finally, I love how the chili sauce takes the Ramen to a whole new level of spice!

 photo 011_zps9462b8d0.jpg

After I made these noodles, I actually stopped eating Ramen the "normal" way! Adding a few simple ingredients really takes Ramen from a poor college kid's food, to an easy to make Asian dinner!

These totally inspired me to take my Peanut Ramen Noodles to the next level.  I plan on trying these again but with CRUNCHY peanut butter, so it will have bits of peanuts in it just like in pad thai! I also want to try adding veggies or even tofu. I can't wait to keep enjoying and experimenting with Ramen Noodles!

Have you ever dressed up Ramen? What would you add?

Bye from the Veggie Side!

ShareThis

Related Posts Plugin for WordPress, Blogger...